Wednesday, October 17, 2012

Schema and text-to-self Connections!

One of my favorite things to teach (and most difficult) is making connections, and not just any connections....QUALITY CONNECTIONS! I spend about two weeks introducing this topic and have found that Numbers the Stars by Lois Lowry and all of Patricia Polacco's books lend nicely to teaching this concept.


We always begin the unit with simply introducing, "What are connections?"I use the following anchor chart below to introduce this concept.

 
Before actually making any connections, I am sure to first introduce the word "schema". We always define it as "filing cabinets" in our head. They hold tons and tons of information on all kinds of topics and experiences. We just have to find ways to access it! I always start by first demonstrating with a backpack full of school supplies. The students use their schema to detemine what could possibly be in the backpack. By the end of this demonstration, kids are right on board with the idea!
 
 
The next day I introduce our Schema Thinking Stems. We use these as way to show our thinking while we are reading. I modeled how to do this with our very first chapter in Number the Stars. Eventually they did some thinking stems wtih me, before they were finally required to do their own thinking stems throughout the entire novel.


Now I love nonfiction, and I do not feel it gets all the attention it deserves at times. Schema is without a doubt, very important when it comes to understanding nonfiction. I carried this term over in out science block before we were to begin our lesson on how animals were classified. This anchor chart, Activate, Build, and Revise Schema, came from Debbie Miller and her book Reading with Meaning. I use this chart a lot with science and social studies.

 
As we read through this science lesson, we continued to build our knowledge on this topic and then revise our misconeptions.
 
 
From here I went on to the topic of text-to-self connections. My experience with third and fourth graders and connections has been a completely wild experience! I have discovered that children will make connections to anything, even if it has nothing to do with the book at all! I love the book The Relatives Came and find it to be a great starting point for text-to-self connections. I start with a read aloud where I record my own text-to-self connections on sticky notes and add them to our anchor chart. Of course, I do make some quality connections but I also make connections that are completely off key! We work on making connections to the text and pictures.


The whole time my kids are thinking that I know exactly what I am doing! The next day however, I introduce them to the conept of 1 connections and 2 connections.
 
**1 connections are those that are actually meaningful to the story. They help us to better understand the characters, author, and theme.
 
An example of a 1 connection from this story that I made was, "I know how it feels to be enjoying yourself so much with family that you don't even think of home".
 
**2 connections are those that may relate to something in the story, but they do not help us understand what we are reading better.
 
An example of a 2 connection from the story I made was, "My mom once hit our mailbox in front of our driveway too!"
The kids quickly learned that hitting a mailbox had nothing to do with the meaning behind the story at all. I loved seeing their lightbulbs go off!
 
I reread the book and students made their 1 connections to the story and we added them to the bottom of the anchor chart.
 
 
The next day's lesson was to allow children time to critcially think about making 1 connections. I read the book For the Love of Autumn by Patricia Polacco. I find this book to be incredibly easy for children to relate to in many areas. I read the book aloud while children recorded their own text-to-self connections on sticky notes. Once we were finished I divided them into small groups of 3 or 4. From here they were on their own anaylyze all of their connections and decide which ones were 1 connections and which ones were 2 connections. They then had to divide them up on their own chart paper. At the end all groups were expected to present their chart paper and defend their choices for 1 and 2 connections. This lesson has never failed! Every year students are able to correctly identify their 1 and 2 connections!
 
Once group presenting their findings!!
 
 
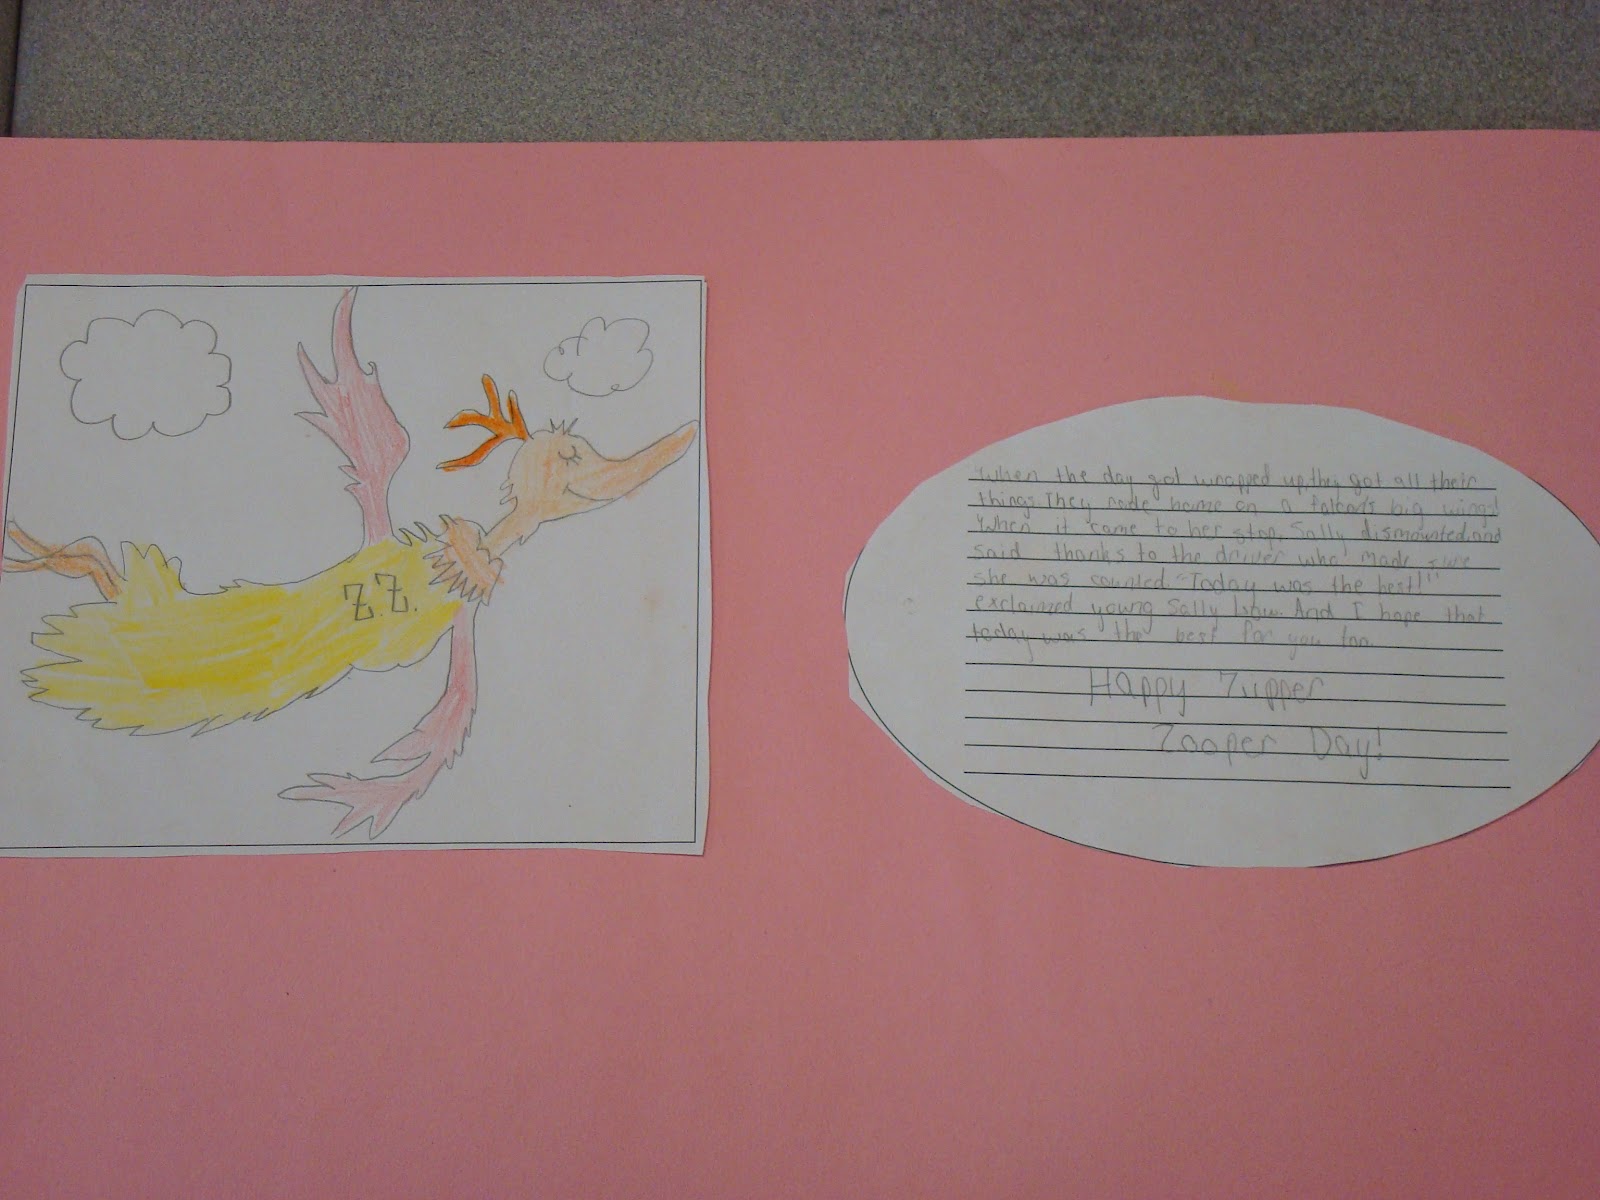
From this point forward we continue our work with text-to-self connections through the use of our Connection Journals. This is simply yellow construction paper book with notebook paper and connection organizers stapled inside. We use this journal throughout the entire school year to help us with making quality connections to our stories. Graphic organizers of all kinds can be used. We use venn diagrams to compare books and characters. We have used organizers to make all three types of connections, to relate to specific quotes from the book, and specific settings in a story.


Sunday, October 7, 2012

Guided Math and Stations

When I first began teaching I realized quickly that the whole group math approach with work out of the textbook or worksheets, was not meeting half of the needs of my students. Not only were some of my students not able to complete the work, but I had others who were completely bored with it! Those that would finish early would read or write in their journals. Of course, I thought this was perfectly acceptable at the time until I realized, "Wait! This is math time! We should ALL be doing math!"

Thankfully three years ago I was able to attend a conference in Springfield where I had my first experience with math stations and differentiation. From there I read Debbie Diller's book Math Workstations. I finally felt inspired by these ladies and their instruction and knew what I had to do! If you have not already, I suggest you read Diller's book. She is definitely a great starting point for math stations.

Math Work Stations: Independent Learning You Can Count on, K-2
I began a couple of summers ago by reorganizing all of my math manipulatives and activities. Talk about a lot of work! I found that using clear plastic tubs work well with labels. I then chose the same tubs to house the students' math stations. Since I typically have around 24 students a year I wanted 12 math stations (that way students could work in partners). Each station tub contains two activities for students to choose from to complete. We go through two rounds of these stations (since there are 2 activities), so I do not have to create new stations for a couple of months. A lot less work than creating stations weekly! Many of these station tubs just have activities that are continuously added to them for students to work on. I have attached a picture below of my math station area.

As you can see all the tubs are clear and numbered 1-12. The biggest question is: How do you choose what activities to put in the stations? I try to focus on the basic areas: Number Sense, Geometry, Measurement, Data and Probability, and Algebra. Many activities seem to fall in these areas and with the lessons being taught in class. I always make sure that the activities meet all learning needs. I often use color coded stickers to identify differentiation for the students. For example, anything with a blue sticker is often for my advanced learners. I used red stickers for those right on track and yellow stickers for those who are struggling.

Of course before any math station work begins I am sure to always teach the students how to do the activities. This usually comes during our mini lessons. Luckily with 4th graders they are better at reading and following directions, so that usually helps when they forget. Below you will see how I make the station directions on an index card and attach to a key ring. In addition, I created an "I Can" list that is taped to each lid explaining what activities the children are allowed to do at the station.You will see this in Diller's book!


Another big question: How do children know which station to attend? I have created a management system that I keep on my math board. Students are set up in partners that are interchangeable, and all they have to do is find their name and then the corresponding numbered station.


I have also found it useful to number off special places around the room for where students can complete their station. Before they would just gather around each other and it would be a mess. Now they just find the numbered square around the classroom and that is the designated area for their station time.

Big question: How much time do they get at stations? On average, I give students about 15 minutes at a station. This is usually enough time to complete one of the activities. We do one round of stations a day.


Big question: What do students do when they finish early? It is inevitable. You will have students who always finish early. At my math station area I have a few activities for students to complete. They have an option of reading a math book, playing with flash cards, or working with number tiles. I always stress that they must be doing something math related! No reading or writing unless it deals with math! I found math journals to also be useful at this time for problem solving activities.


Big question: How do you keep the stations cleaned and organized? This topic is one big mini lesson at the beginning of the year! We discuss exactly what a clean station area and tub should like. We practice packing up a tub and putting it away. However, there is always the chance that we still end up with missing pieces. Any missing pieces go in our "Missing Pieces" basket. I encourage students to be in charge of their own learning at these stations, but they also must show responsibility. If they make poor choices then they can be banned from stations for a short period of time. Trust me....this is all the incentive they need! Math stations are a favorite part of the day!


Big Question: What is the teacher doing at this time? Are all students doing stations at the same time? I have used two different approaches with math stations. I have found both to work, but it mostly depends on what works best for your class. Each year may be different with each group of students.


Approach 1:

I begin with a five minute review or introduction for the day. We then split into three groups. I have the students divided into three groups based on their needs (challenge, right on track, or more help needed). This is determined by the preassessment I give before I teach each new chapter. The great thing about the preassessment, is that it can also become the practice test at the end of the unit!

Each group goes through a rotation during our math block. They will spend 15 minutes with me on the lesson of the day where we use marker boards, manipulatives, and worksheets. One 15 minute session will be at stations. The other 15 minute session will be doing independent work at their desks. This is where they work on the worksheet for today's lesson and complete the problem of the day in their math notebooks. Below is the sample schedule of my class this year.


Tip: I always leave my challenge group for last and have them complete their independent practice first. Since they are ahead with the lesson already, they are often able to complete that day's worksheet without any extra help.

Approach 2:

I begin with a 25 minute whole group mini lesson. We often gather on the floor with our marker boards. At the end of the lesson the students head back to their seats to complete their independent practice (usually a workbook page). During this time I can go around the room and help those as needed. As they finish their independent practice, they put it to the corner of their desk and begin their problem of the day in their math notebooks. Once they have that finished then they can move on to their stations. When their independent practice is finished, I quickly check for mastery as I travel around the room. If they have the skill I will put a star on it and move on. If I realize they are struggling then I will pull that worksheet aside. Once all students have finished their independent practice, I will pull those who struggled into a small group and reteach the lesson. They may lose out on station time, but it is necessary for mastery of the lesson. There are times when I may even have enough time to pull a challenge group too.


Whichever approach you choose I always end with a closure. Students gather back at their desks where we review the problem of the day first. Then, students write their closing statements in their math notebooks. This is where they reflect on their progress during Math Workshop. They can discuss the following:

  • Today I learned....
  • I am proud of.....
  • I am confused about....
  • I enjoyed....
  • I want to know more about.....

I cannot stress enough how much I love this approach to teaching math. I can honestly say that it does help to reach my students' needs much easier than the typical math approach. Not to mention the fact the students love it too!


Wednesday, September 26, 2012

Fairy Tales!!

We spent a couple of weeks studying fairy tales through reading and writing. This is the first year I have spend so much time on fairy tales and I am so glad that we did! It turned into a terrific unit with many concepts and skills taught throughout it.
Our Reading Street basal has the story The Horned Toad Prince (one of the stories I actually love from the basal). This story is a modern version of a fairy tale that introduced us to the elements of most fairy tales and how author's can tweak those versions to make their own. We even read fairy tales from other parts of the world. You will see the chart we used below to record the elements of a fairy tale. The chart began by students just accessing their prior knowledge for what they already knew about fairy tales. We added to it as we read more fairy tales throughout the two weeks.


We read many differnt fairy tale books that I found from our school library. We read multiple versions of Cinderella, Goldilocks and the Three Bears, Little Red Riding Hood, and The Three Little Pigs. During these mini lessons we focused on recognizing the various elements, common themes and lessons learned, and the basic elements of plot (characters, setting, conflict, climax, resolution). Here is the chart we would fill out after each fairy tale recording our noticings.

 
We were lucky to also watch a move showing three versions of Cinderella from around the world. The children loved to watch how France, India, and areas of Africa told their story of Cinderella. We then used a Venn Diagram to use our text-to-text connections between all the stories.
 
 
We used CLAPS to help us with understanding how the fairy tale is organized.
 
Characters
Location
Action
Problem
Solution


During our Writing Workshop time, we took all the information from CLAPS and the character elements chart to write our own fairy tales. Students spent time brainstorming, drafting, editing, revising, and publishing their own books. There are a few examples below:
 
Front cover from a child's version of Jack and the Beanstalk
 
I loved how she created her front cover!
 
 
We had been discussing what a blurb is on the back of the book, and writing quality summaries that could work for a blurb. Students got their first chance to create their own blurb for their fairy tales.
 
 
Take a peek inside the story, Stacy and Cenderella.


This student had such a creative and wonderful story based off of the The Three Little Pigs. His book was titled The Three Little Ants adn the Big Bad Anteater.


Other great examples!


During one of our Reading Workshop lessons students made their own fairy tale organizers. They chose one of their favorite stories and demonstrated their knowledge based on that story. They could focus on characters, setting, theme, or the entire plot. I have added a few examples.


I love foldables and the kids do too! They find them much more interesting than just a regular graphic organizer printed on paper.


Lastly, I did find a way to incorporate some math into our fairy tale unit. Students took a survey on if they would kiss a frog or not, and then we turned it into our first bar graph. From there I was able to create a few short word problems for kids to practice solving in their math notebooks.


Wednesday, April 25, 2012

Writing like Dr. Seuss!!


We spent the month of March studying the writing styles of Dr. Seuss helping us to make the Reading-Writing connection. Below you will see our anchor chart of the various styles of Dr. Seuss writing as well as photos of the picture books students created. It was important that the children learned what made Dr.  Seuss enjoyable as a reader and learn to imitate that in their own writing. I provided them with a simple graphic organizer that helped them to begin planning to sound like Dr. Seuss. From their the students began planning and drafting in their Writer's Notebooks. They even had to do their own editing and revising which I fine to be hugely important! Once they were reading to publish they created it all into a large picture book. Even their illustrations had to imitate what we notice in a Dr. Seuss book. If you would like a copy of the graphic organizer children used, please just email me at hmoye@cartervillelions.com or hkmoye@gmail.com.


Our Author Study board for Dr. Seuss!


As we read through a variety of Dr. Seuss books, children discovered many of the writing styles and techniques Seuss incorporates into his books. These techniques are what children based their own Dr. Seuss writing on. Many of them incorporated several of these techniques into their writing so they could imitate Seuss.


The next few photos are an example of what one child's completed Dr. Seuss book looked like. Her story actually won first place for the Southern Illinois Reading Council Short Story writing contest!!


The next several photos show my students displaying all of their Dr. Seuss books. They were a hit and incredible to read! I thought I was reading the one and only Dr. Seuss for many of them!


Saturday, January 28, 2012

Exploring Nonfiction

We all know and recognize the importance of children reading and comprehending nonfiction. Unfortunately, this is not always an easy task due to lack of books and the difficult levels of text. My students spent a few weeks specifically studying the conventions of nonfiction. We created nonfiction convention flip books and they designed my bulletin board displaying these conventions. This board stays up all year and they can use it as a resource. Once students are familiar with the conventions they each choose a topic of interest and do an in depth study utilizing nonfiction picture books and the internet. They create wondering questions and those become the highlights of their search. As a culminating project we created nonfiction posters that represent their wonderings and research. Of course they had to "write like a reader" and utilize nonfiction conventions just as our authors do!
We completed this study months ago, but I must say I was beyond thrilled this past week when several of my students were using terms such as "cutaways"and "close-ups" when reading their science textbooks!
I received many of my nonfiction ideas from Debbie Miller and her book Reading for Meaning.